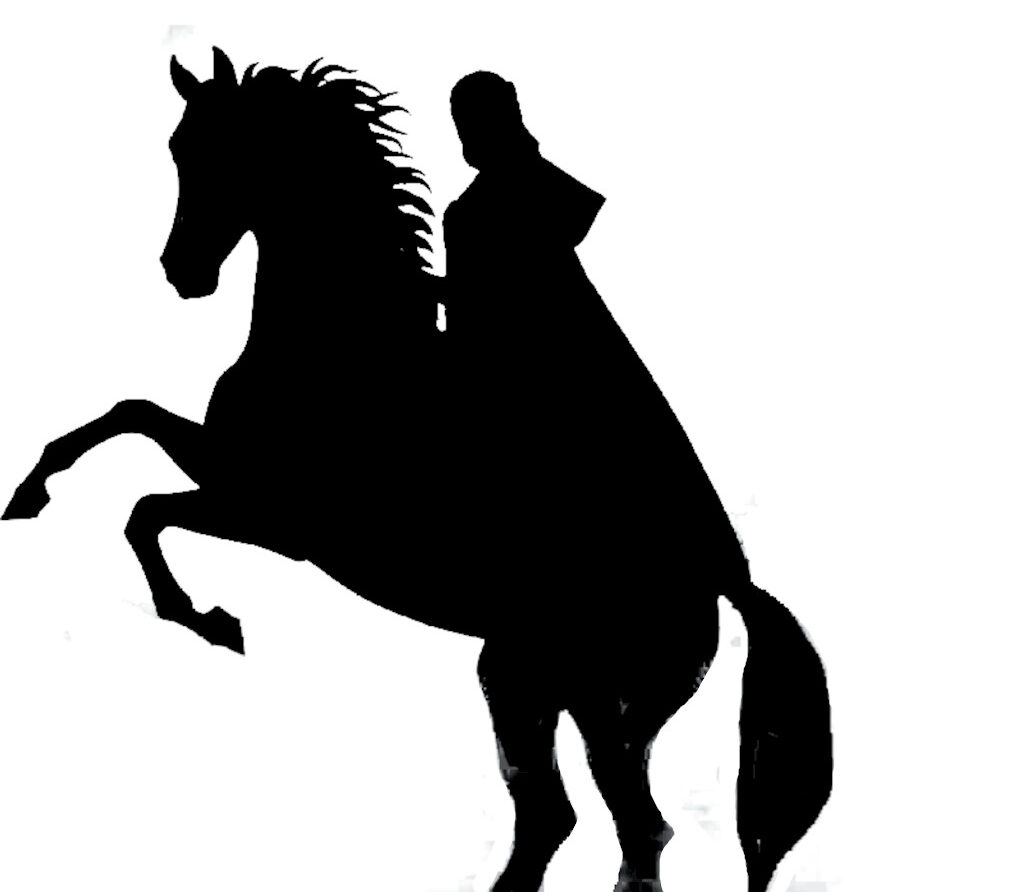
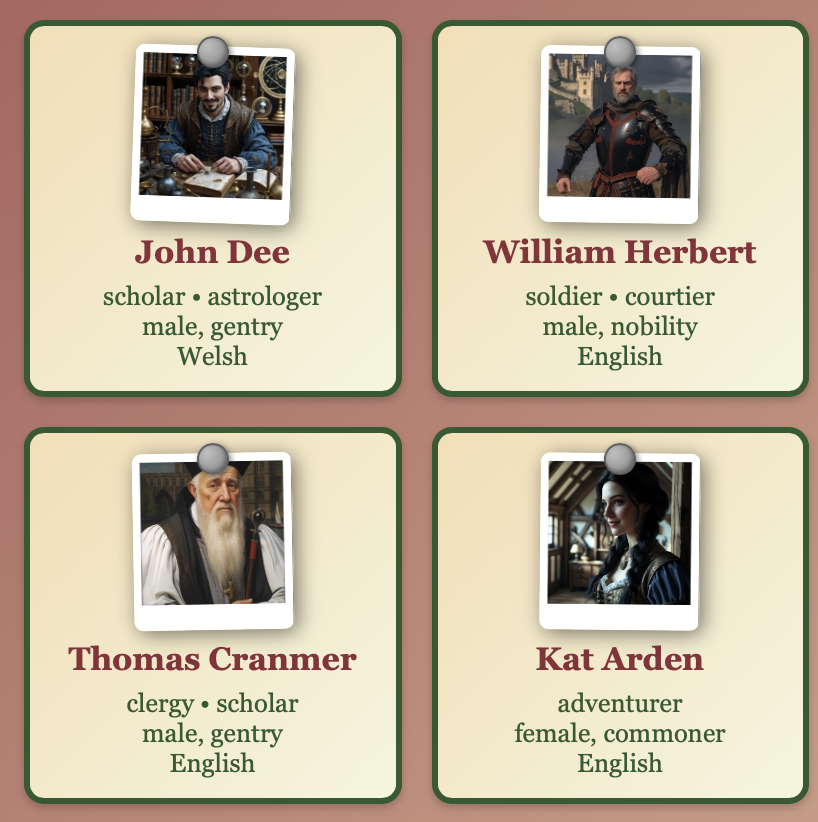
For a new game I needed 70+ ‘polaroid’ style images, but I only had regular (square) jpg images. I could think of several ways of achieving this:
- Manually
- An online tool
- Make a tool for myself
Manually
I could painstakingly manipulate each of the 70+ images;
- Open the image in a paint application (eg Gimp)
- Resize the image
- Increase the canvas size to provide space for the ‘polaroid’ effect
- Reposition the actual image within the new canvas (I wasn’t sure this was auto-achievable during the canvas resizing)
- Colour the background white
- Save as…
This would work, of course, but…yawn…and I’d probably make mistakes along the way
An online tool
A quick search found several tools, some free, some paid-for.
I didn’t want to pay for something, especially as I was going to give away the results.
And, I’m always wary of free online tools…
- Are they secretly copying all my data/images for their own use?
- Are they harvesting my IP address/cookies etc for their own nefarious use
- Are they installing some horrid virus or keyboard logger?
- They’re usually slow…all that upload|wait|download, malarky.
Make a tool for myself
I use an Apple MacBook. It has some amazing hidden powers – well, not hidden, but certainly not commonly used. So donning my explorer’s pith helmet I prepared to explore…
First, the Results
I created a tool that;
- Is totally free
- Uses features built into my MacBook
- Simple operation:
- Prompts me to select one or more original images from a folder
- Duplicated and processed each image
- Saved the results to a new folder
- Is fast! It took, ooh I don’t know, a second or two, to process 70+ files
- See examples at the top of this post (used in a webpage and randomly rotated using Javascript)
- One example shown here for easy examination…
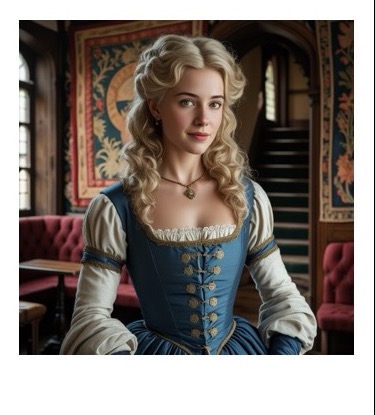
Looks pretty good to me!
How to create the tool?
Let’s cut to the chase…
- Open “Automator” (the icon looks like a little robot, and he lives in your Applications folder (or look in Launchpad/Other…)
- We’ll add just 4 steps:
- Ask for Finder items
From your original image folder. Allow multiple items - Copy Finder items
To your destination folder. Allow to replace existing files (so you can run it several times if needed). - Scale images
I was starting with square images from Leonardo, 1120px x 1120px, so I scaled to 335px square - Run Applescript
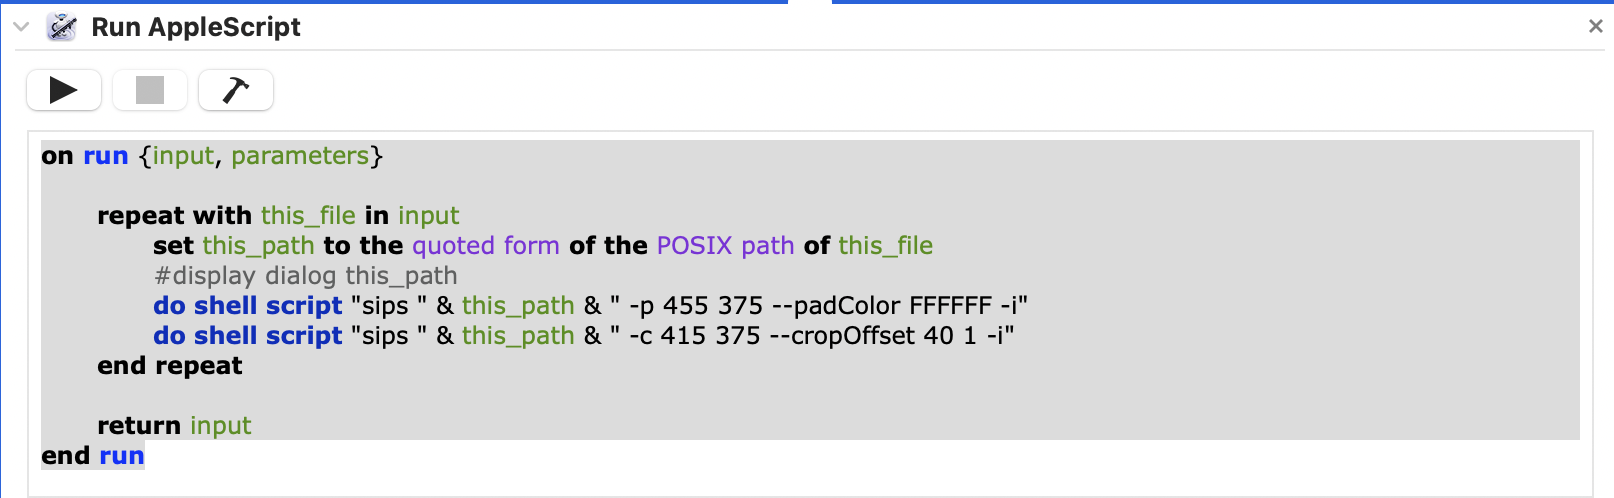
This is the slightly tricky and technical part. Here’s the script I used, with sizes chosen for my needs, you may need to adjust the sizes to suit.
- Ask for Finder items
on run {input, parameters}
repeat with this_file in input
set this_path to the quoted form of the POSIX path of this_file
do shell script "sips " & this_path & " -p 455 375 --padColor FFFFFF -I"
do shell script "sips " & this_path & " -c 415 375 --cropOffset 40 1 -I"
end repeat
return input
end run
Things to beware
- You can uncomment that “display dialog” line to see if the path is as expected
- For the “do shell script” commands, ensure there are spaces around the quoted-path (ie after ‘sips ‘ and before ‘ -p/c…’
- Padding adds space evenly around the original image, hence the need to follow-up with a ‘crop’ command.
- To get the polaroid shape, we want to discard most of the top padding, hence we start the crop (using ‘offset’) at 40px
- If required, you could add a dark border by repeating the pad/crop with a dark background
- Weirdly, the x crop-offset must be > 0 (hence I used 1) else you get no change to the image.
That’s all !
I hope this helps someone else out.
Leave a comment if it does!